But despite the cold we endure, despite the time it takes to set our tree up, and despite our frustration on the years the tree falls over (yes, years is plural… we’ve learned our lesson and use fishing wire to tie it to the wall now), getting and decorating our Christmas tree is my favorite part of Christmas. I have fond memories of doing it as a kid and I love the memories we’re creating for our own kids now that I’m grown. 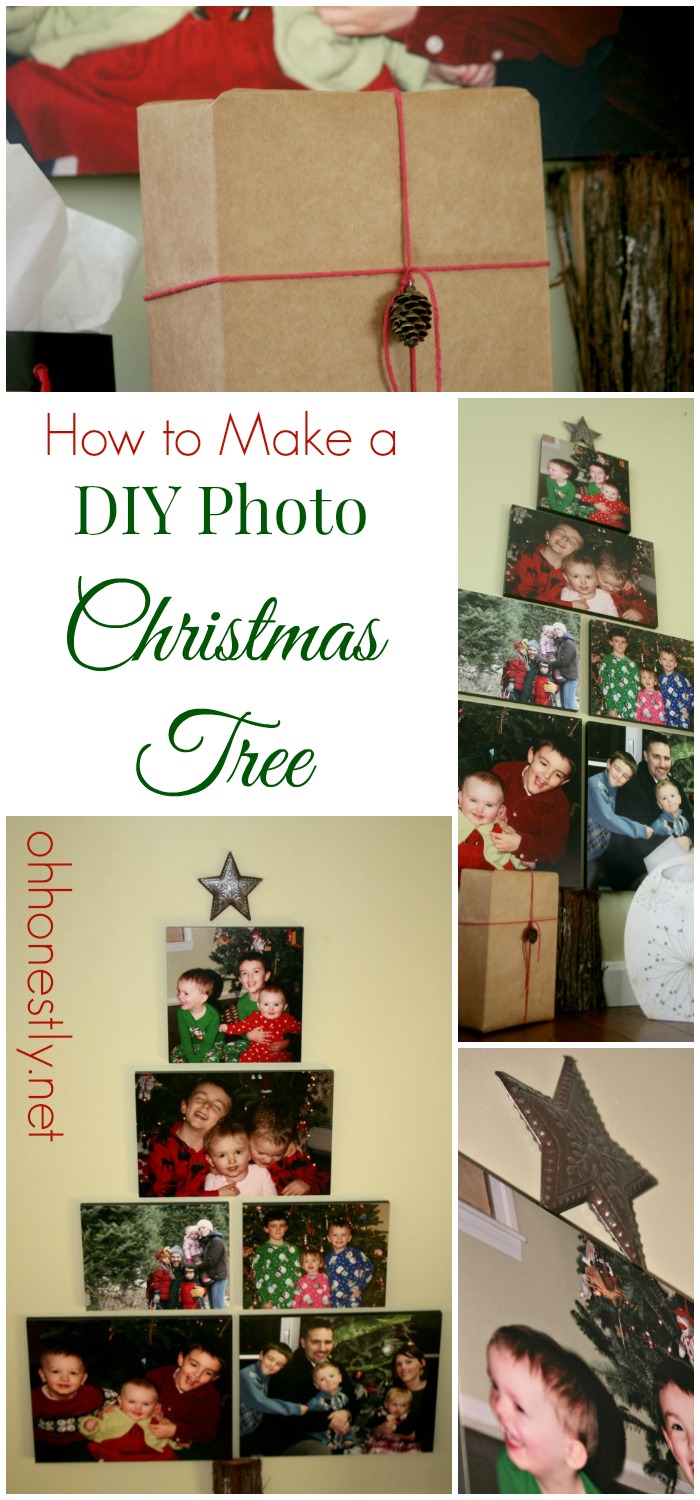
How to Make a DIY Photo Christmas Tree
When I thought up the idea of a tree made out of family photos, I was excited. Of course we’ll still have our real Christmas tree, but as far as I’m concerned, you really can’t have too many trees! Want to make your own Photo Christmas Tree? Follow these steps and it’ll be up in no time!
1. Choose where you’ll buy your pictures
There’s an important reason to do this first! You need to know what sizes are available in order to do Step 2. I chose to use mounted photos from Walmart Photo. They come in a variety of sizes, some of which are available for same-day pickup and others which can be ordered online and shipped directly to your home (shipping is free through December 30, 2015!).
2. Make a template
Cut out pieces of paper in the sizes you want and lay them out in the shape of a tree. Once you’ve laid out your tree on the floor, you may want to also tape it to the wall to see how it looks. My first template had 24 pictures that were all available for same-day pickup: 5×7’s, 8×10’s, and one 8×20.  Then I realized that printing all of those might be a bit expensive, so I opted for fewer, but bigger pictures and created a second template. My second template used all sizes that could be shipped to my house for free: 12×12, 11×14, 12×18, and 16×20 (they also have a 20×30, but I didn’t need one that big).
 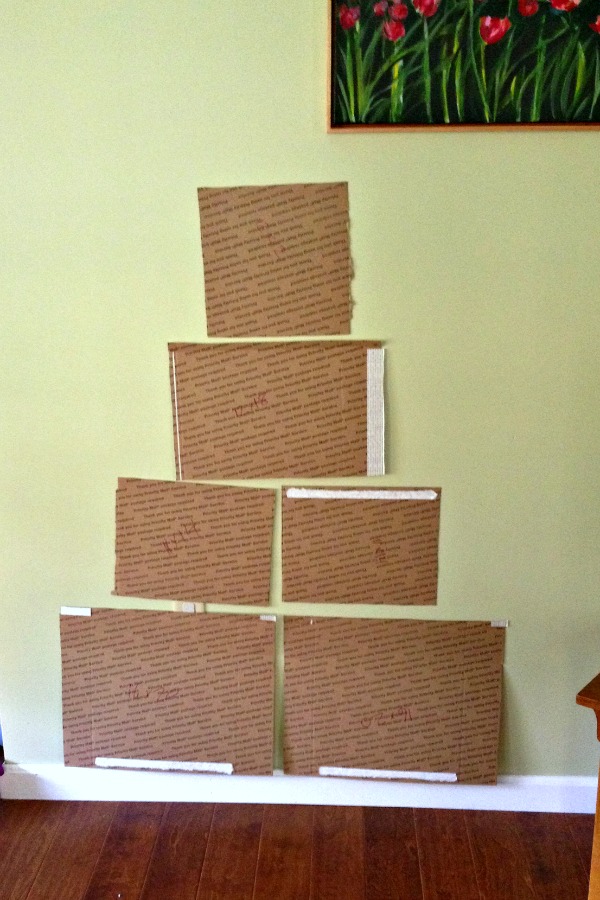 NOTE: TAKE A PICTURE OF YOUR TEMPLATE! OTHERWISE WHEN YOU TRY TO RECREATE IT, YOU’LL FORGET WHERE EACH PICTURE BELONGS.
3. Choose your pictures
When I made my first template, my plan was to use all of my favorite Christmas pictures from years past. Once I altered my plan, I decided to stick with my tree theme and only use pictures that were taken in front of our Christmas trees (except for one… can you tell which is the impostor?)
Make sure that the pictures you choose fit the orientation (vertical, horizontal, square, etc.) and size (you don’t want your heads cut off!) or edit them to fit.
4. Order your pictures
This is pretty self-explanatory. Each of my pictures arrived in its own sturdy cardboard box, which will be an awesome way to store them for the 10 1/2 months that they’re put away.
I’ll be honest, I thought the picture quality would be decent, but nothing out of this world. So I was thrilled to open them up and see how gorgeous they are. The picture quality is fantastic and I love the look of the mounted photos. If you haven’t given Walmart Photo any business in a while, give them a try. I think you’ll be pleasantly surprised.
5. Hang your pictures
First you need to choose how you’re going to hang your photos. The mounted photos have small round holes in the back that would be perfect for a nail. However, you probably don’t want to drive nails into your wall, especially if you plan on taking the photos down after Christmas.
I bought Command hooks which worked well, although it took a bit of patience to get the hook into the hole. When you begin to hang them, start at the bottom and work your way up. 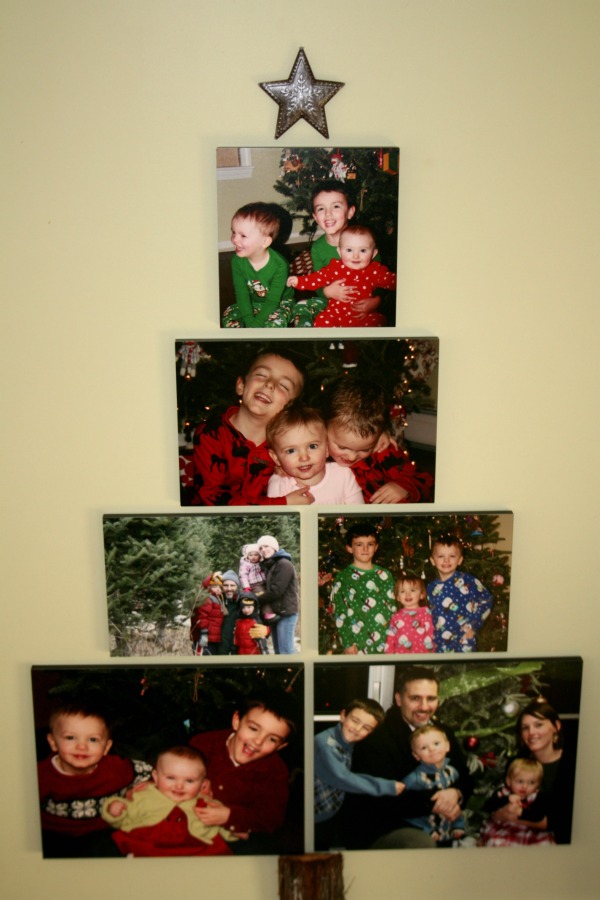
6. Add the finishing touches
No Christmas tree is complete without a topper. Whether you choose a star like I did, an angel, a ribbon, or something else, don’t leave this part undone. Our little tree looked much more complete with the star on top. 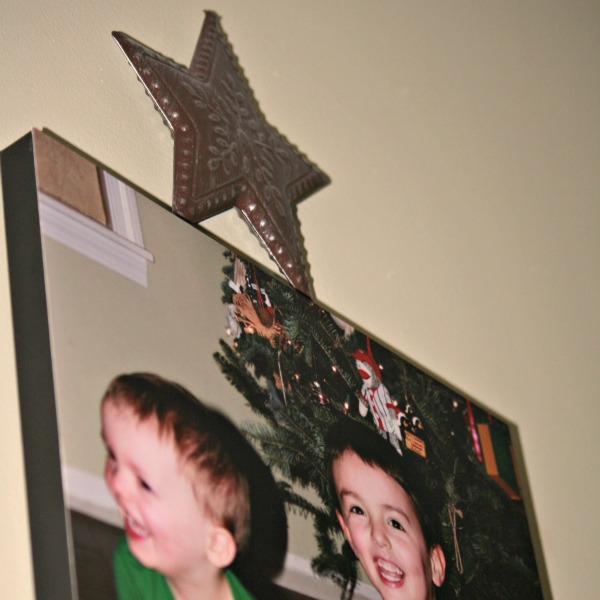 Our tree also needed a trunk. After I hung the pictures and the star, I considered what would work. A brown piece of construction paper would be too flat and, let’s be honest, tacky. Then it occurred to me that we could use an actual piece of a tree trunk! My awesome husband went right out to our shed, cut one to size, and there you have it: Our completed tree.
 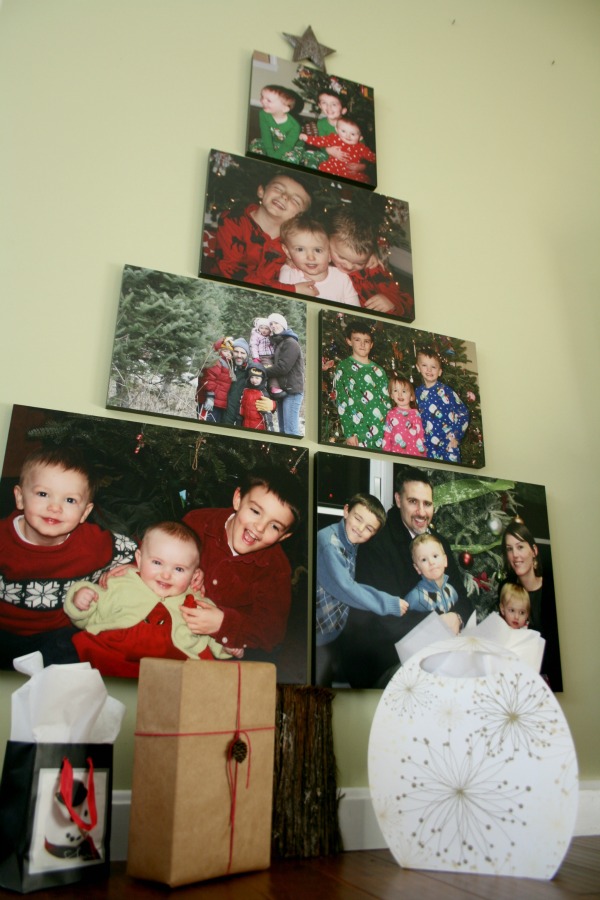 Every day since we put our photo Christmas tree up I’ve gotten to stare at the cutest little faces in the world and remember some of my favorite moments of all time. The kids love it too. They’re constantly standing in front of it, talking about the pictures, and pointing themselves out (but they’ve been warned not to touch!).
I love our newest decoration and I know it will be one of my favorite things to hang up each Christmas season.
Be sure to visit Walmart Photo’s brand page on BlogHer.com where you can read other bloggers’ posts.


Caryn says
This is awesome. I’m hosting Christmas this year for the first time, so will definitely look to decorate more. Thanks for the inspiration. I’m going to try it.
tove maren says
Oh Lauren – this is so cute. It would also look adorable with the kids’ Santa pictures. I love this idea. I would have never thought of displaying pictures like that! You ARE a genius!
Lauren says
Every once in a while I come up with a good idea. I’m not sure I’m at genius level yet though, lol.
Jen Lawrence says
How cute! This is such a great idea. It’s also a good space saver.
Lauren says
Thanks Jen! We still have a real tree, but I love this addition 🙂