


This post contains affiliate links. I’ll earn a small commission on any purchases made through the links.
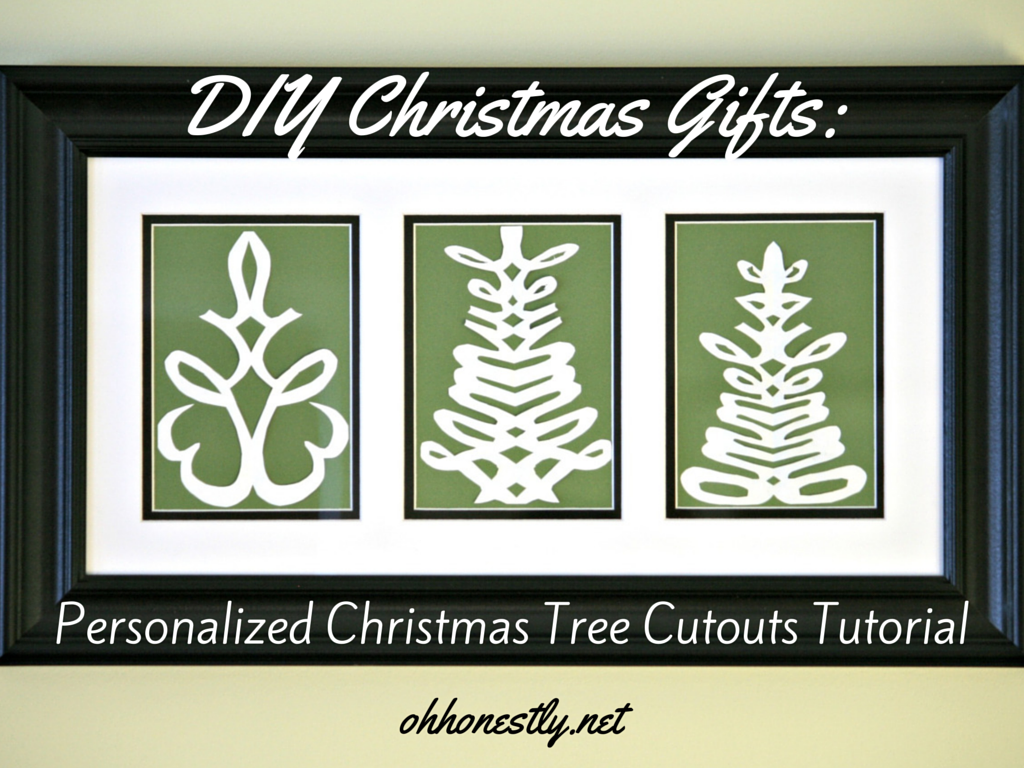
DIY Christmas Gifts: Personalized Christmas Tree Cutouts Tutorial
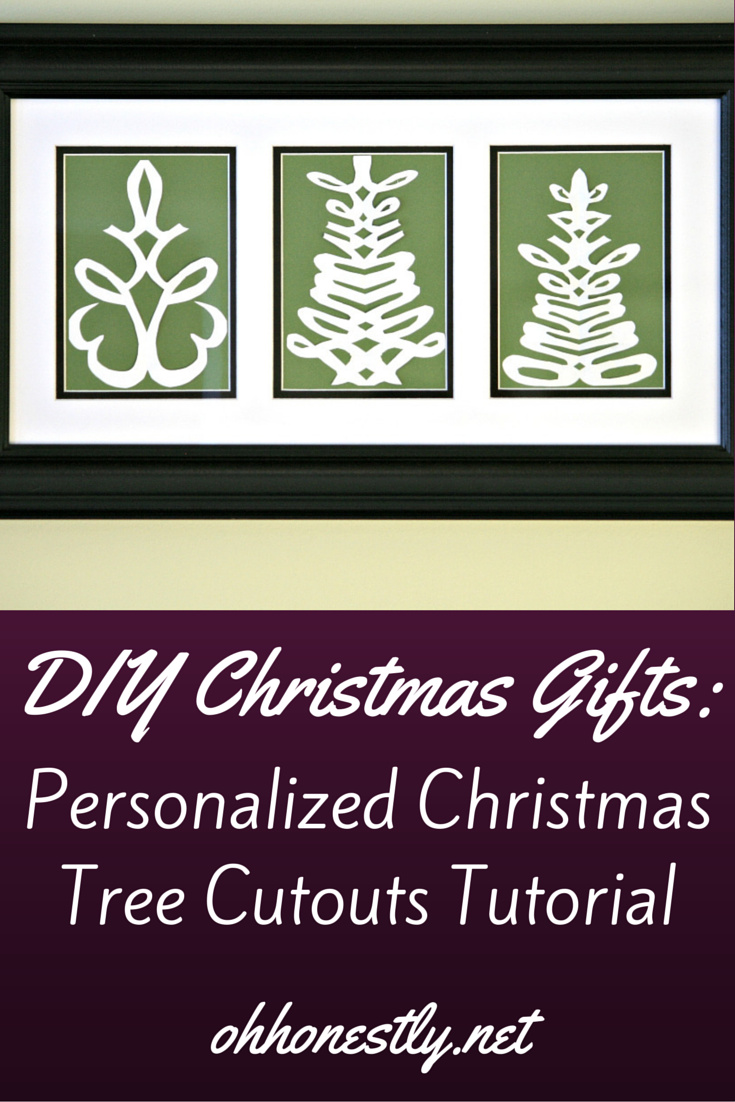
Last year my mom texted a picture to my sisters and I with a message something like, “Look what I’ve been working on for you guys!!! I love DIY Christmas gifts.” I looked at the tiny, grainy picture (this was in my pre-Smartphone days) and I thought, “Oh. That’s cute. It’s a doily-looking Christmas tree. I think.”
Then my sisters began to respond with messages like,
“OH. MY. GOSH! I LOVE IT!!!”,
“Mom, you are AMAZING. How did you do that??”,
“This will be something I cherish FOREVER.”,
and it got me thinking that maybe I was missing something. Not that I wouldn’t be thrilled to receive a snowflake-type cutout of a Christmas tree and if that’s all it was, my mom would still be amazing, but I was pretty sure my sisters weren’t freaking out over a mere tree.
A few days later, my parents stopped by to visit and my mom had the craft in hand. She held it up for me to see. I smiled and said how cute it was. Then she turned it sideways and BAM! “OH MY GOSH MOM, YOU ARE AMAZING!!!! HOW DID YOU DO THAT??? I LOVE IT AND WILL CHERISH IT FOREVER!!!!!!!!!!”
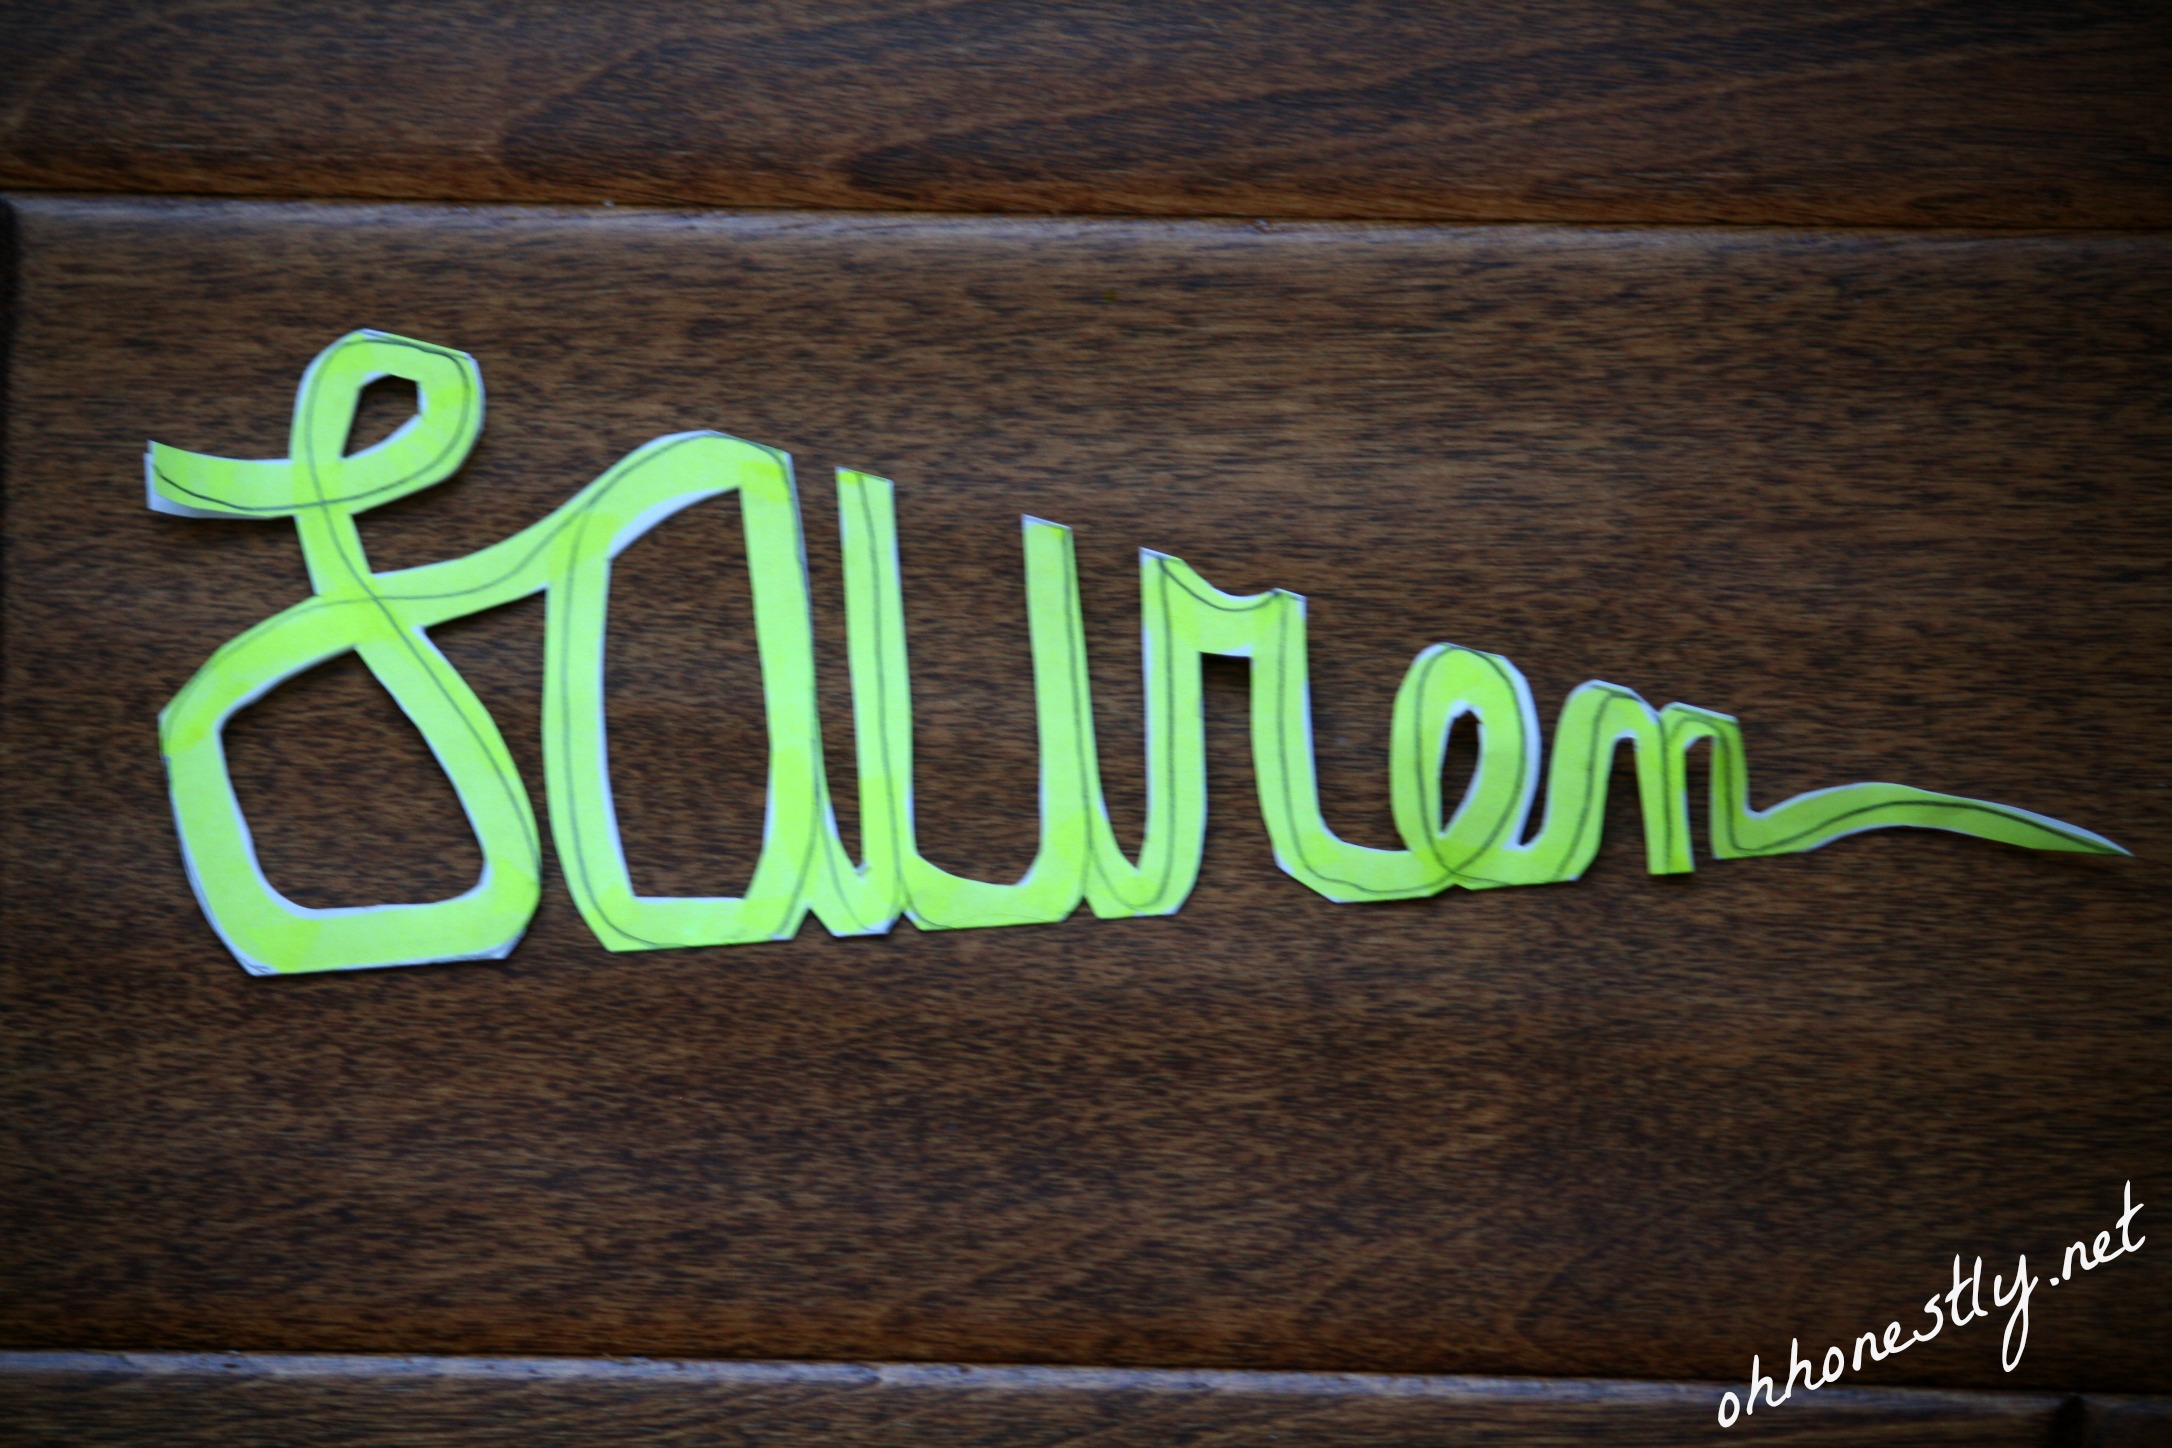
Do you see it?
How about now?

That’s right, each tree is one of my kids’ names.
I recently pulled the frame out of storage and posted a picture online. I had a lot of “How did you do that??” comments, and since my mom shared her secrets with me, I am graciously passing them on to you. These are pretty easy to do (I suggest having a really good set of scissors!) and make awesome DIY Christmas gifts for grandparents, teachers, etc.
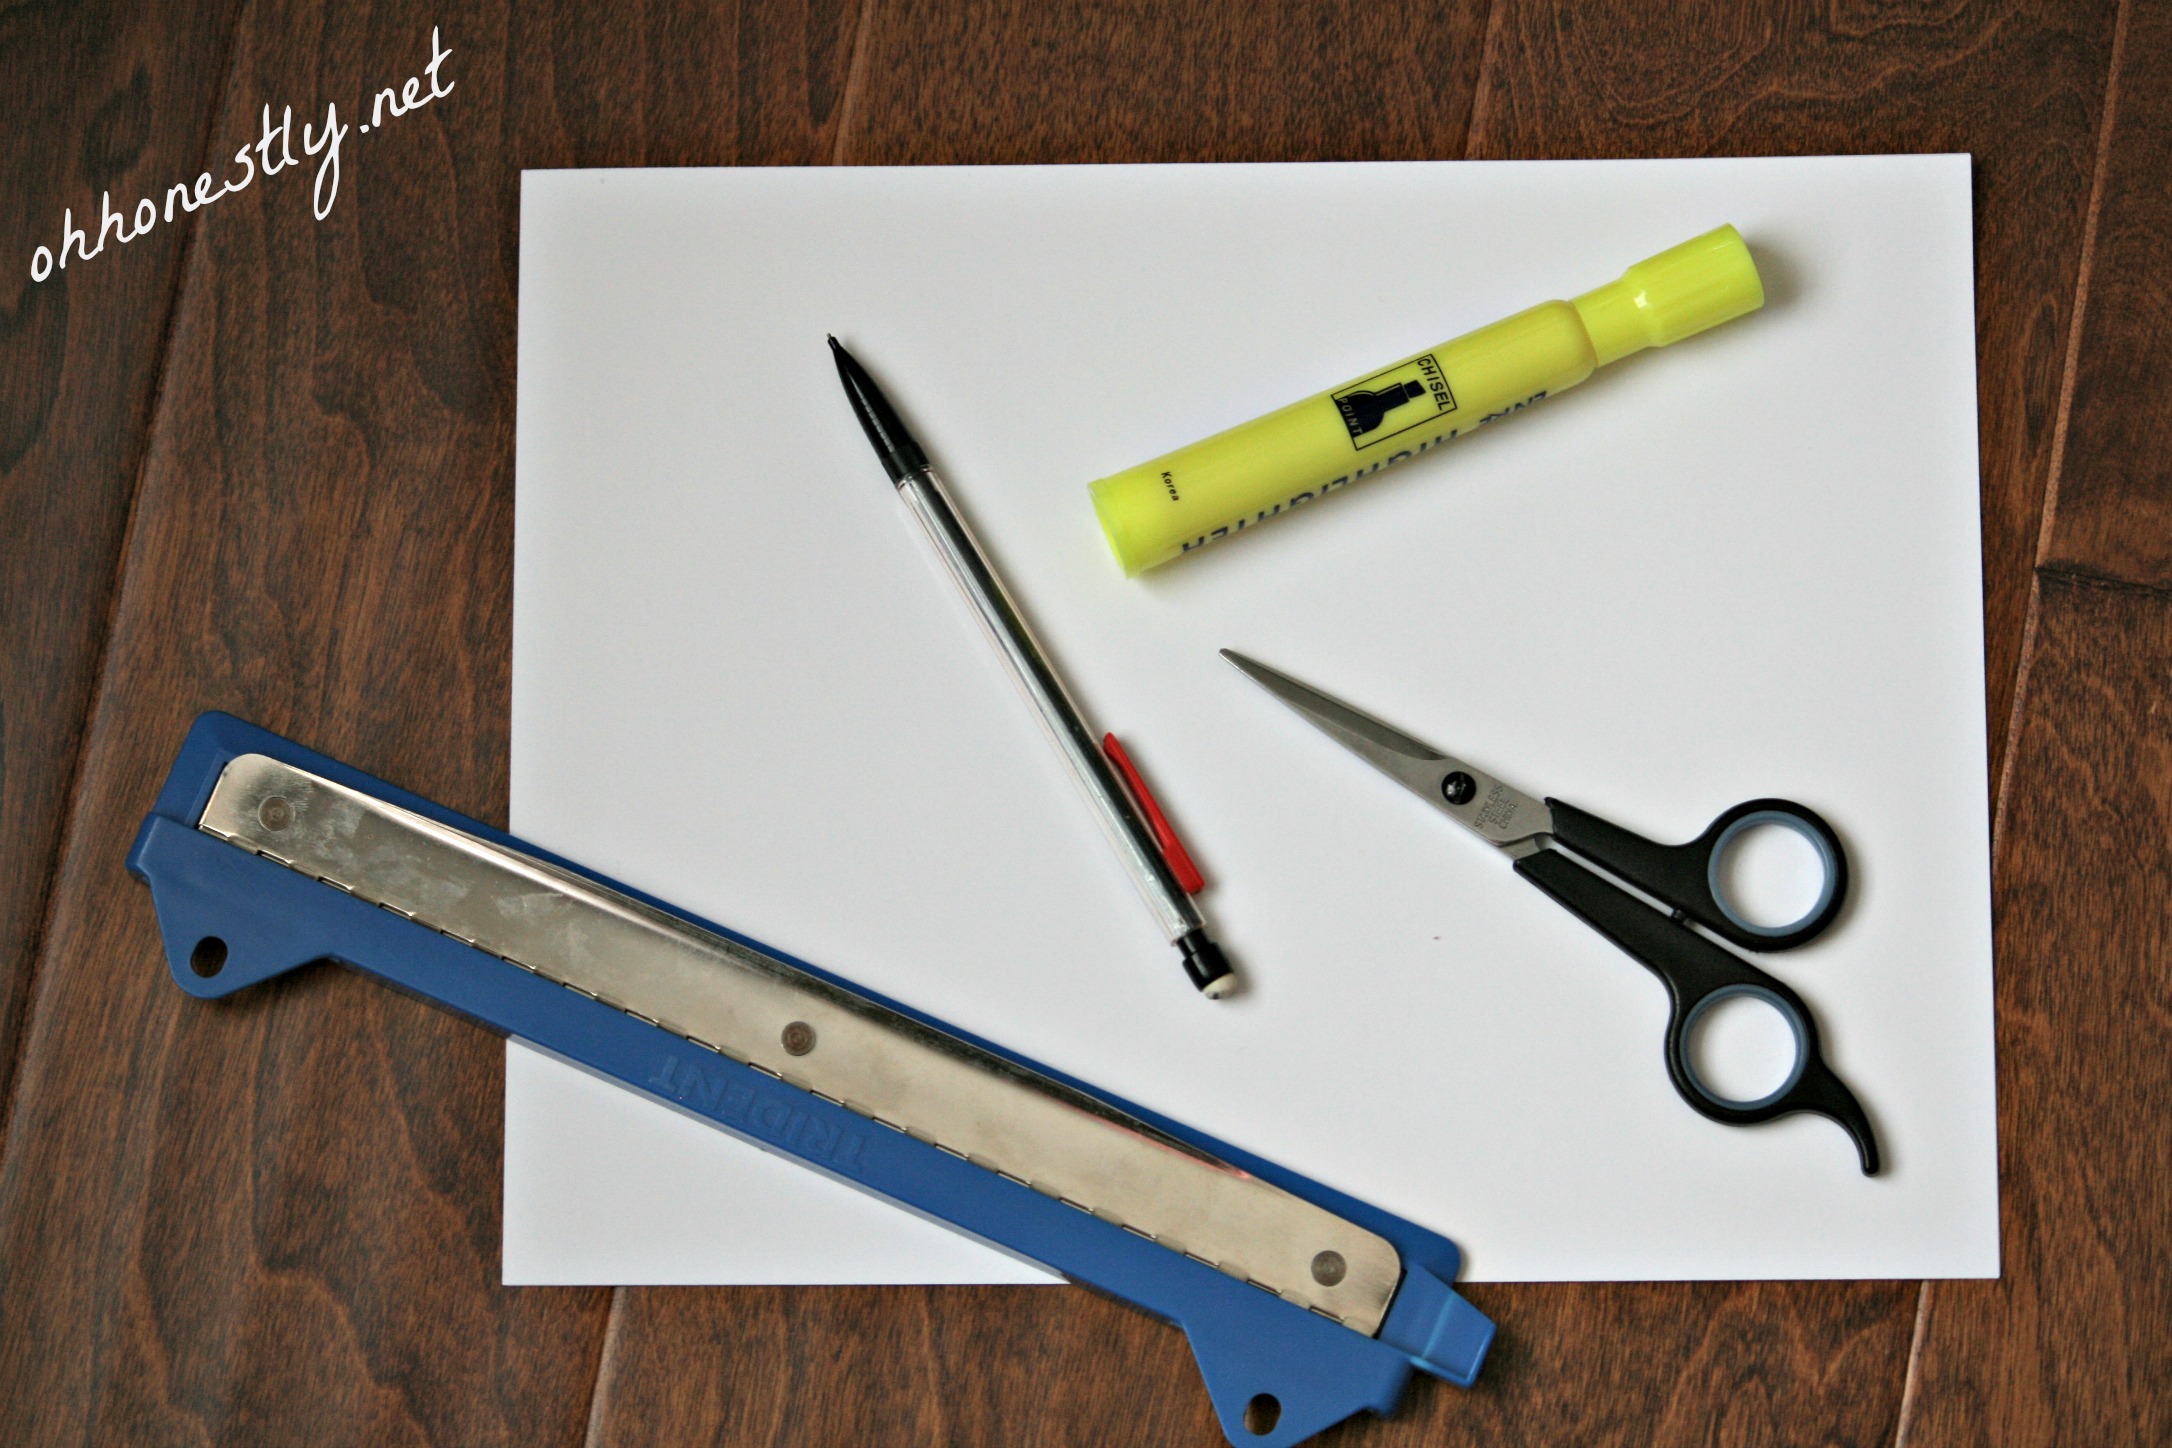
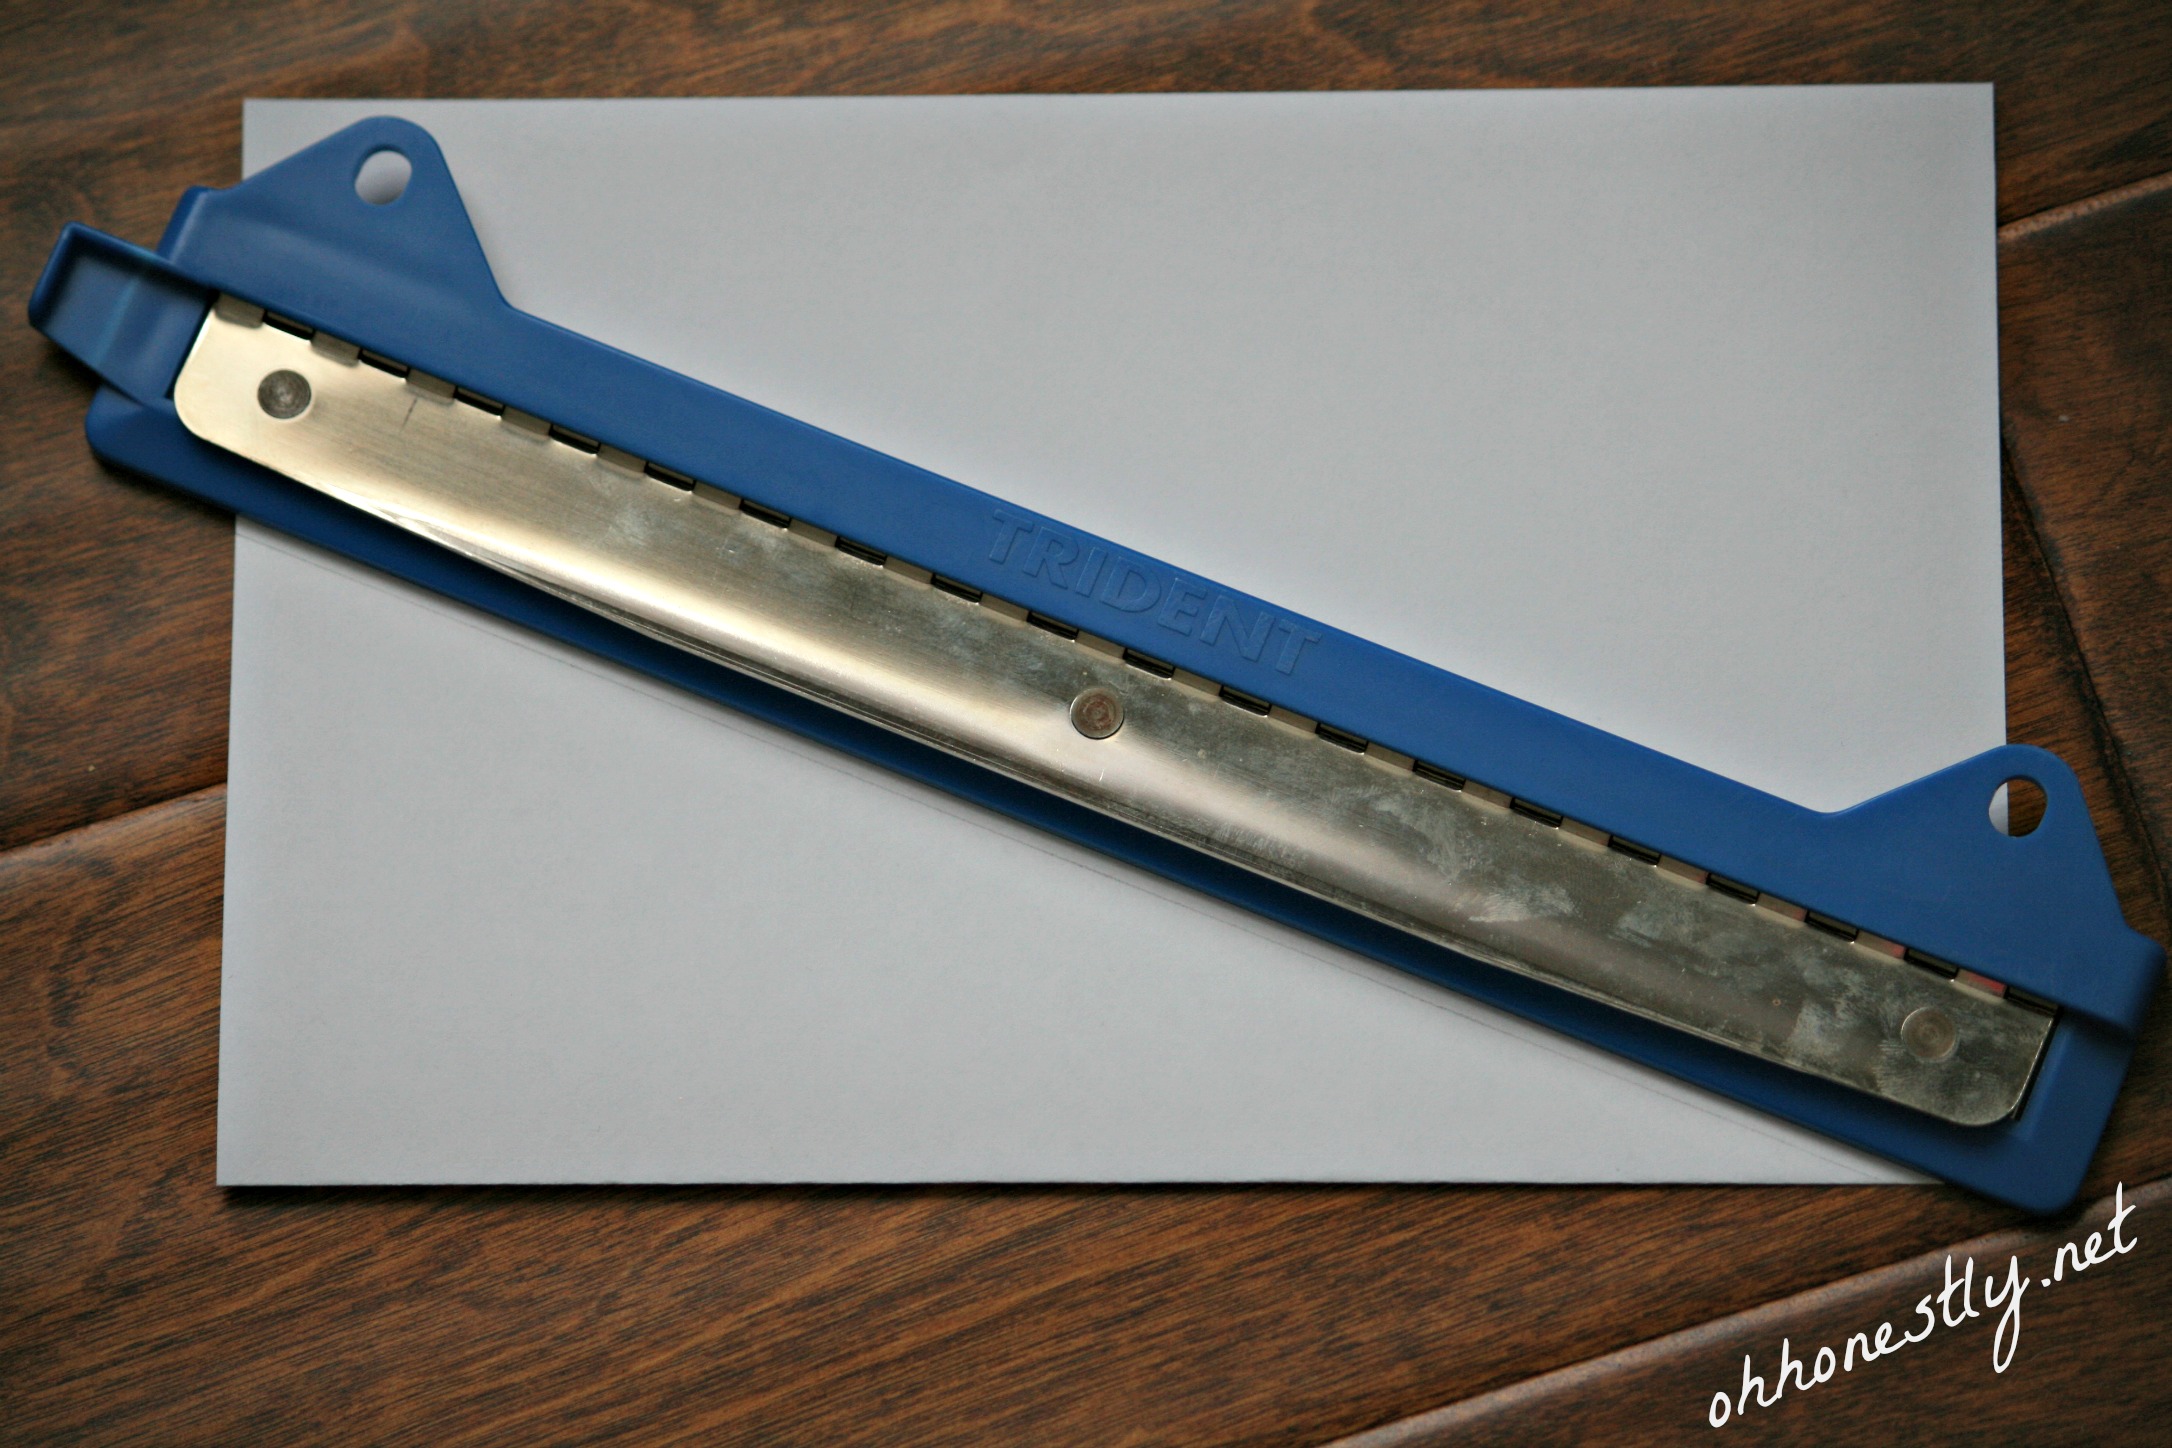
1. Gather your supplies.
You’ll need paper (I used plain white computer paper, but you could use anything), a pencil, a thick point highlighter, and a straight edge. Apparently we don’t own a ruler, so I improvised because we own multiple three-hole punches. Yeah, I don’t understand it either.
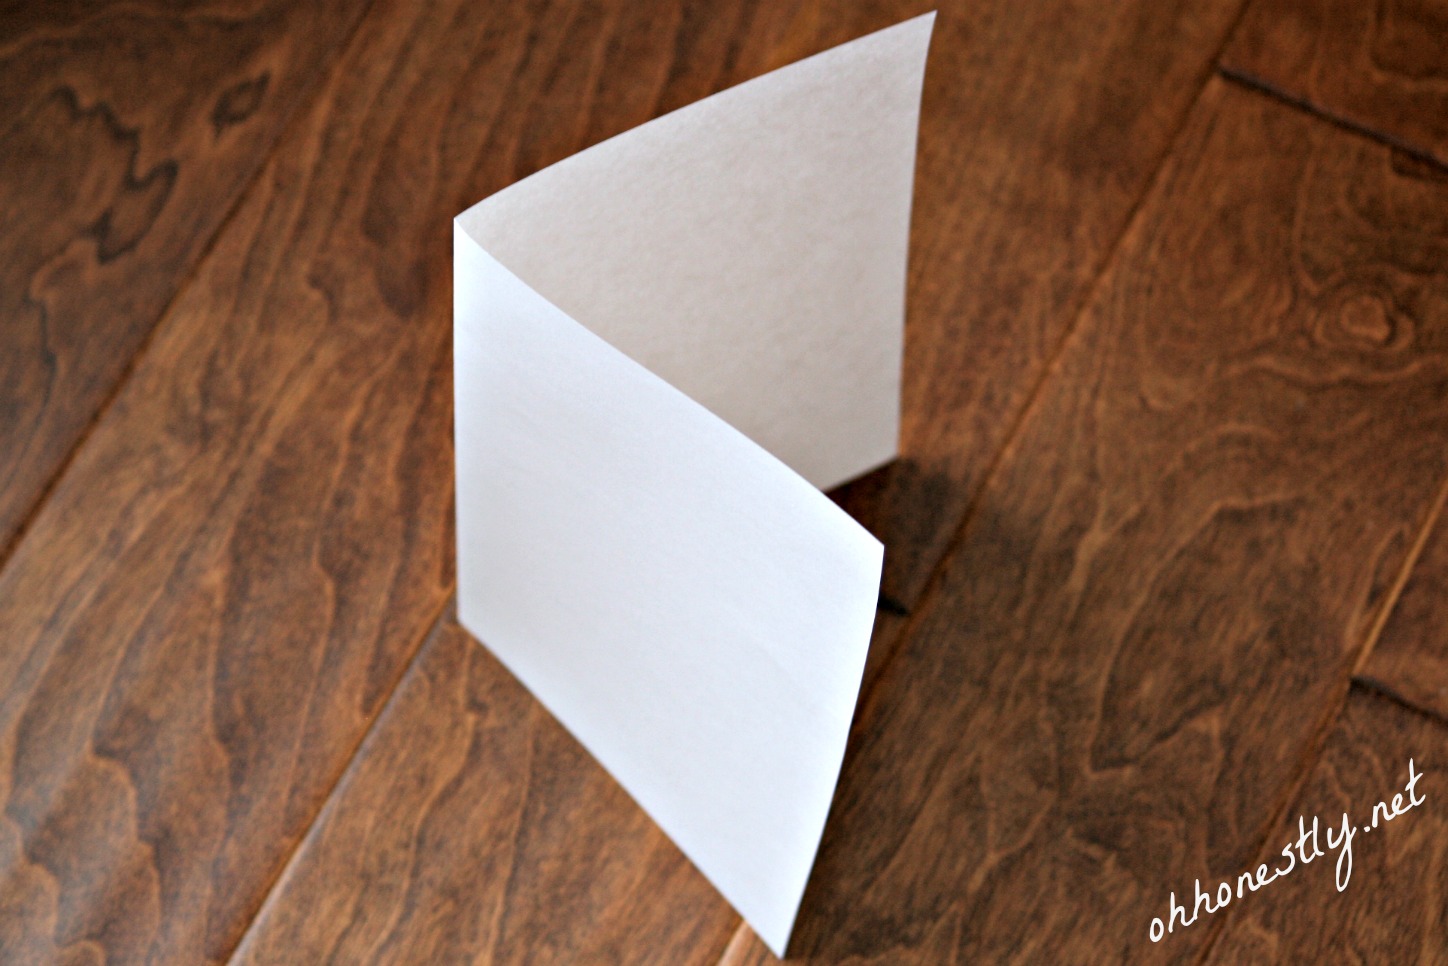
2. Fold your paper in half.
3. With the fold of the paper on the bottom, use a pencil and straight edge to draw a diagonal line to form half the width of the tree. The widest part should be on the left and the point of the tree should hit the fold towards the right end.
4. Beginning at the wide end, with the fold on the bottom, write the name in cursive, being sure to hit the top and bottom line with each letter.

5. Use the highlighter to trace the name. Try to keep the same thickness for all parts of the name.
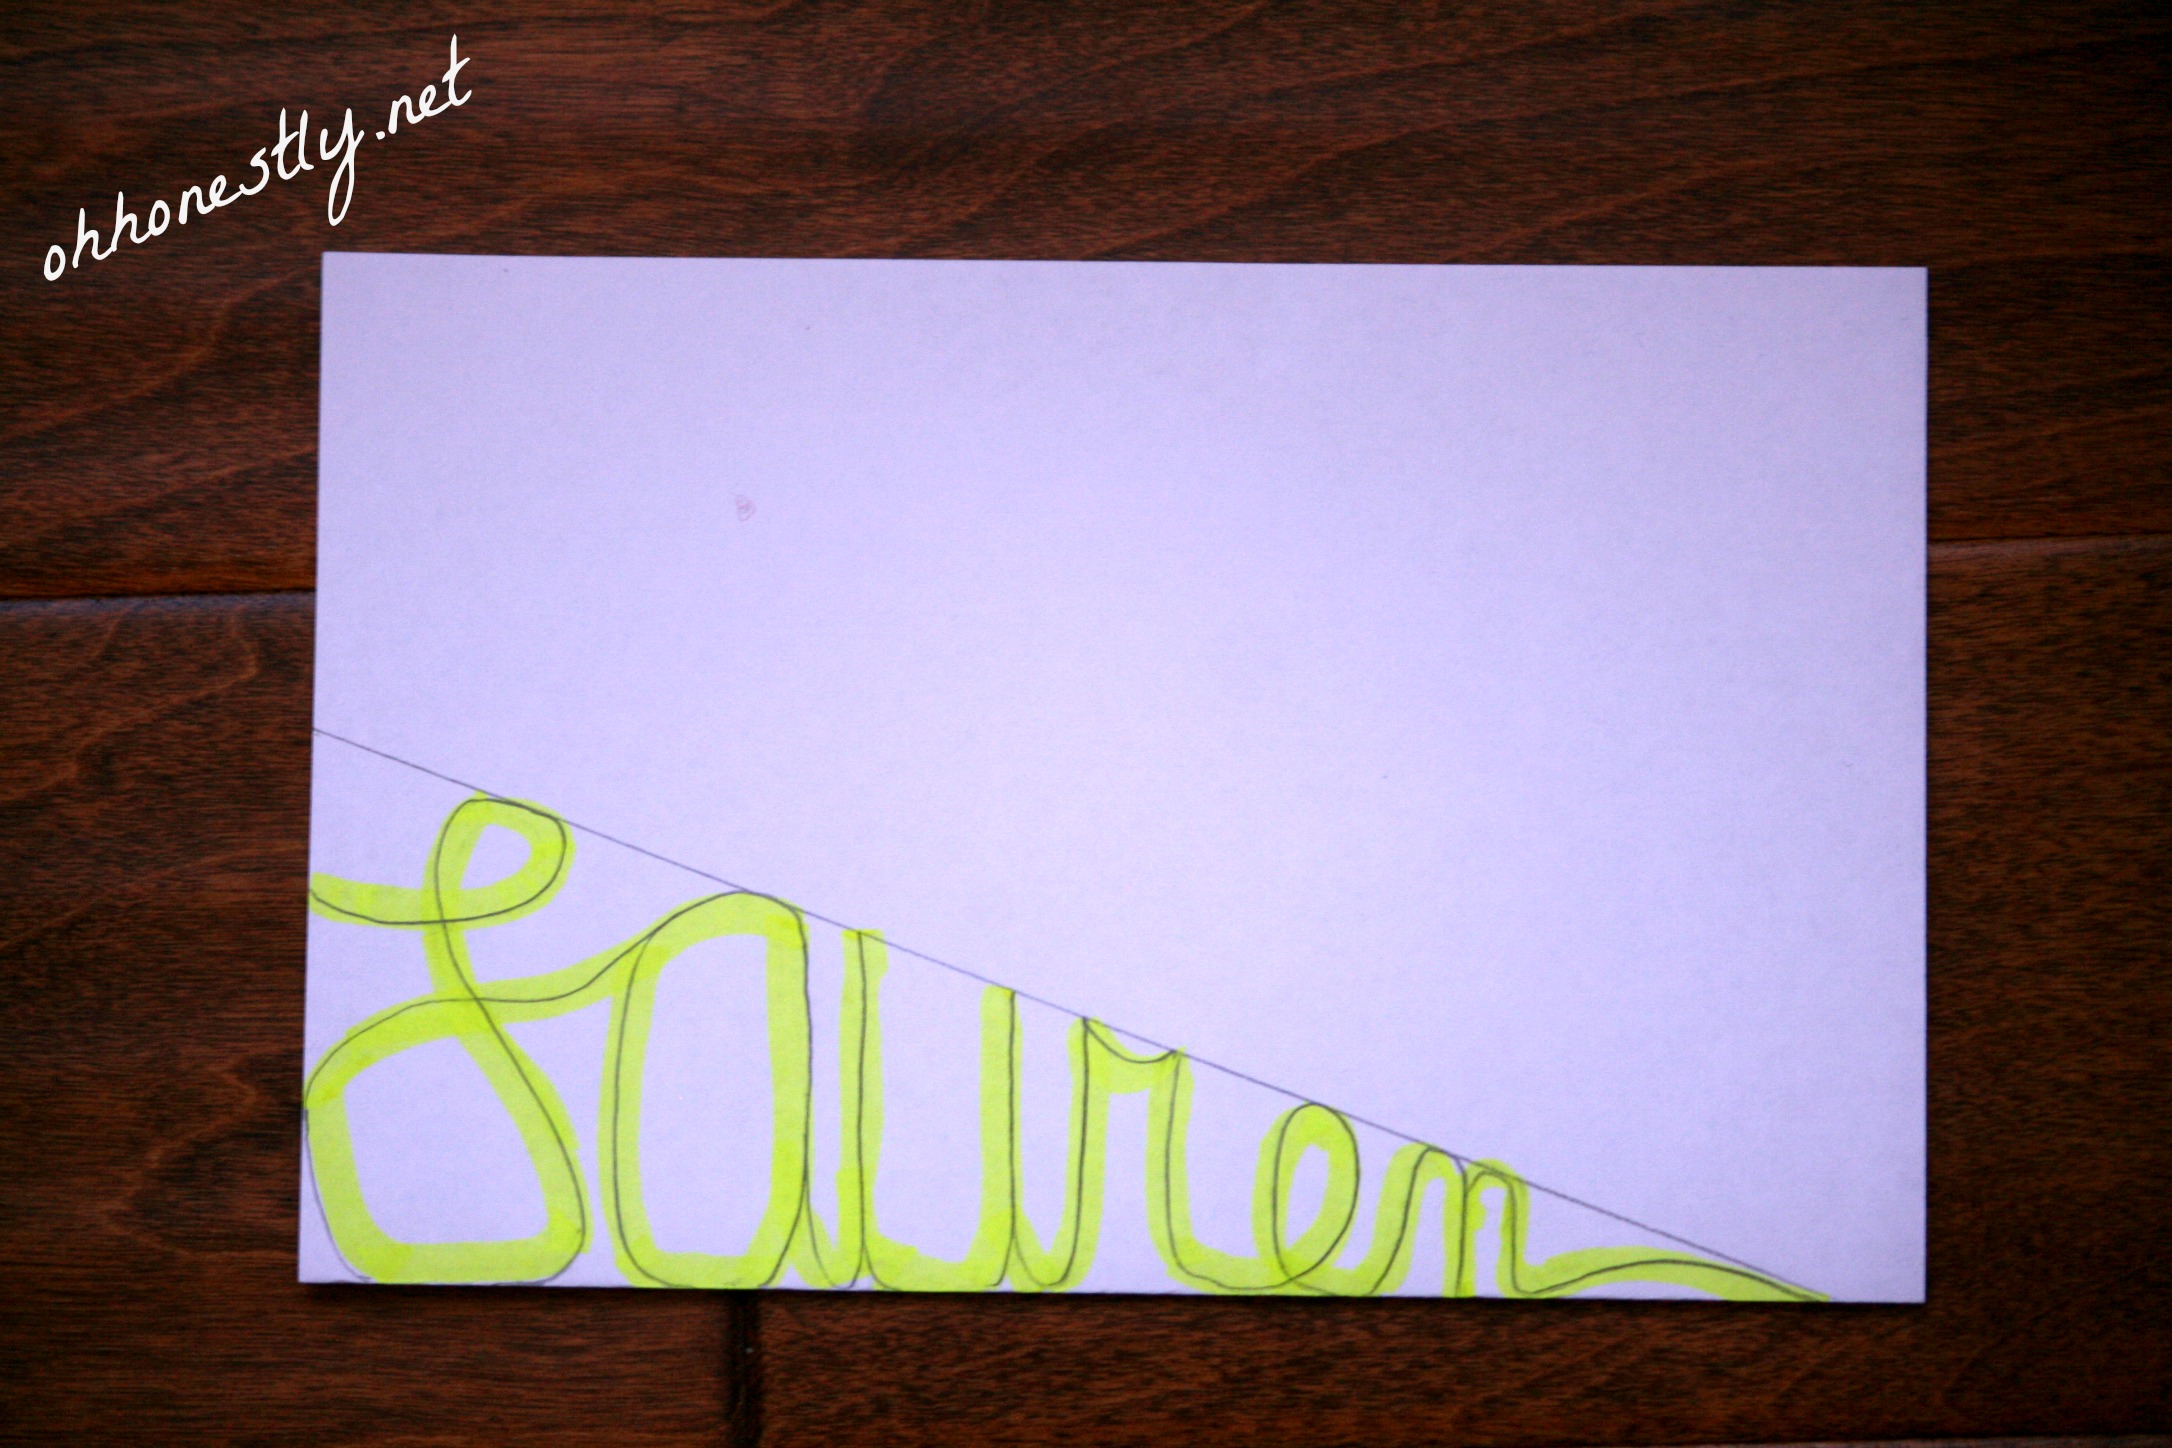
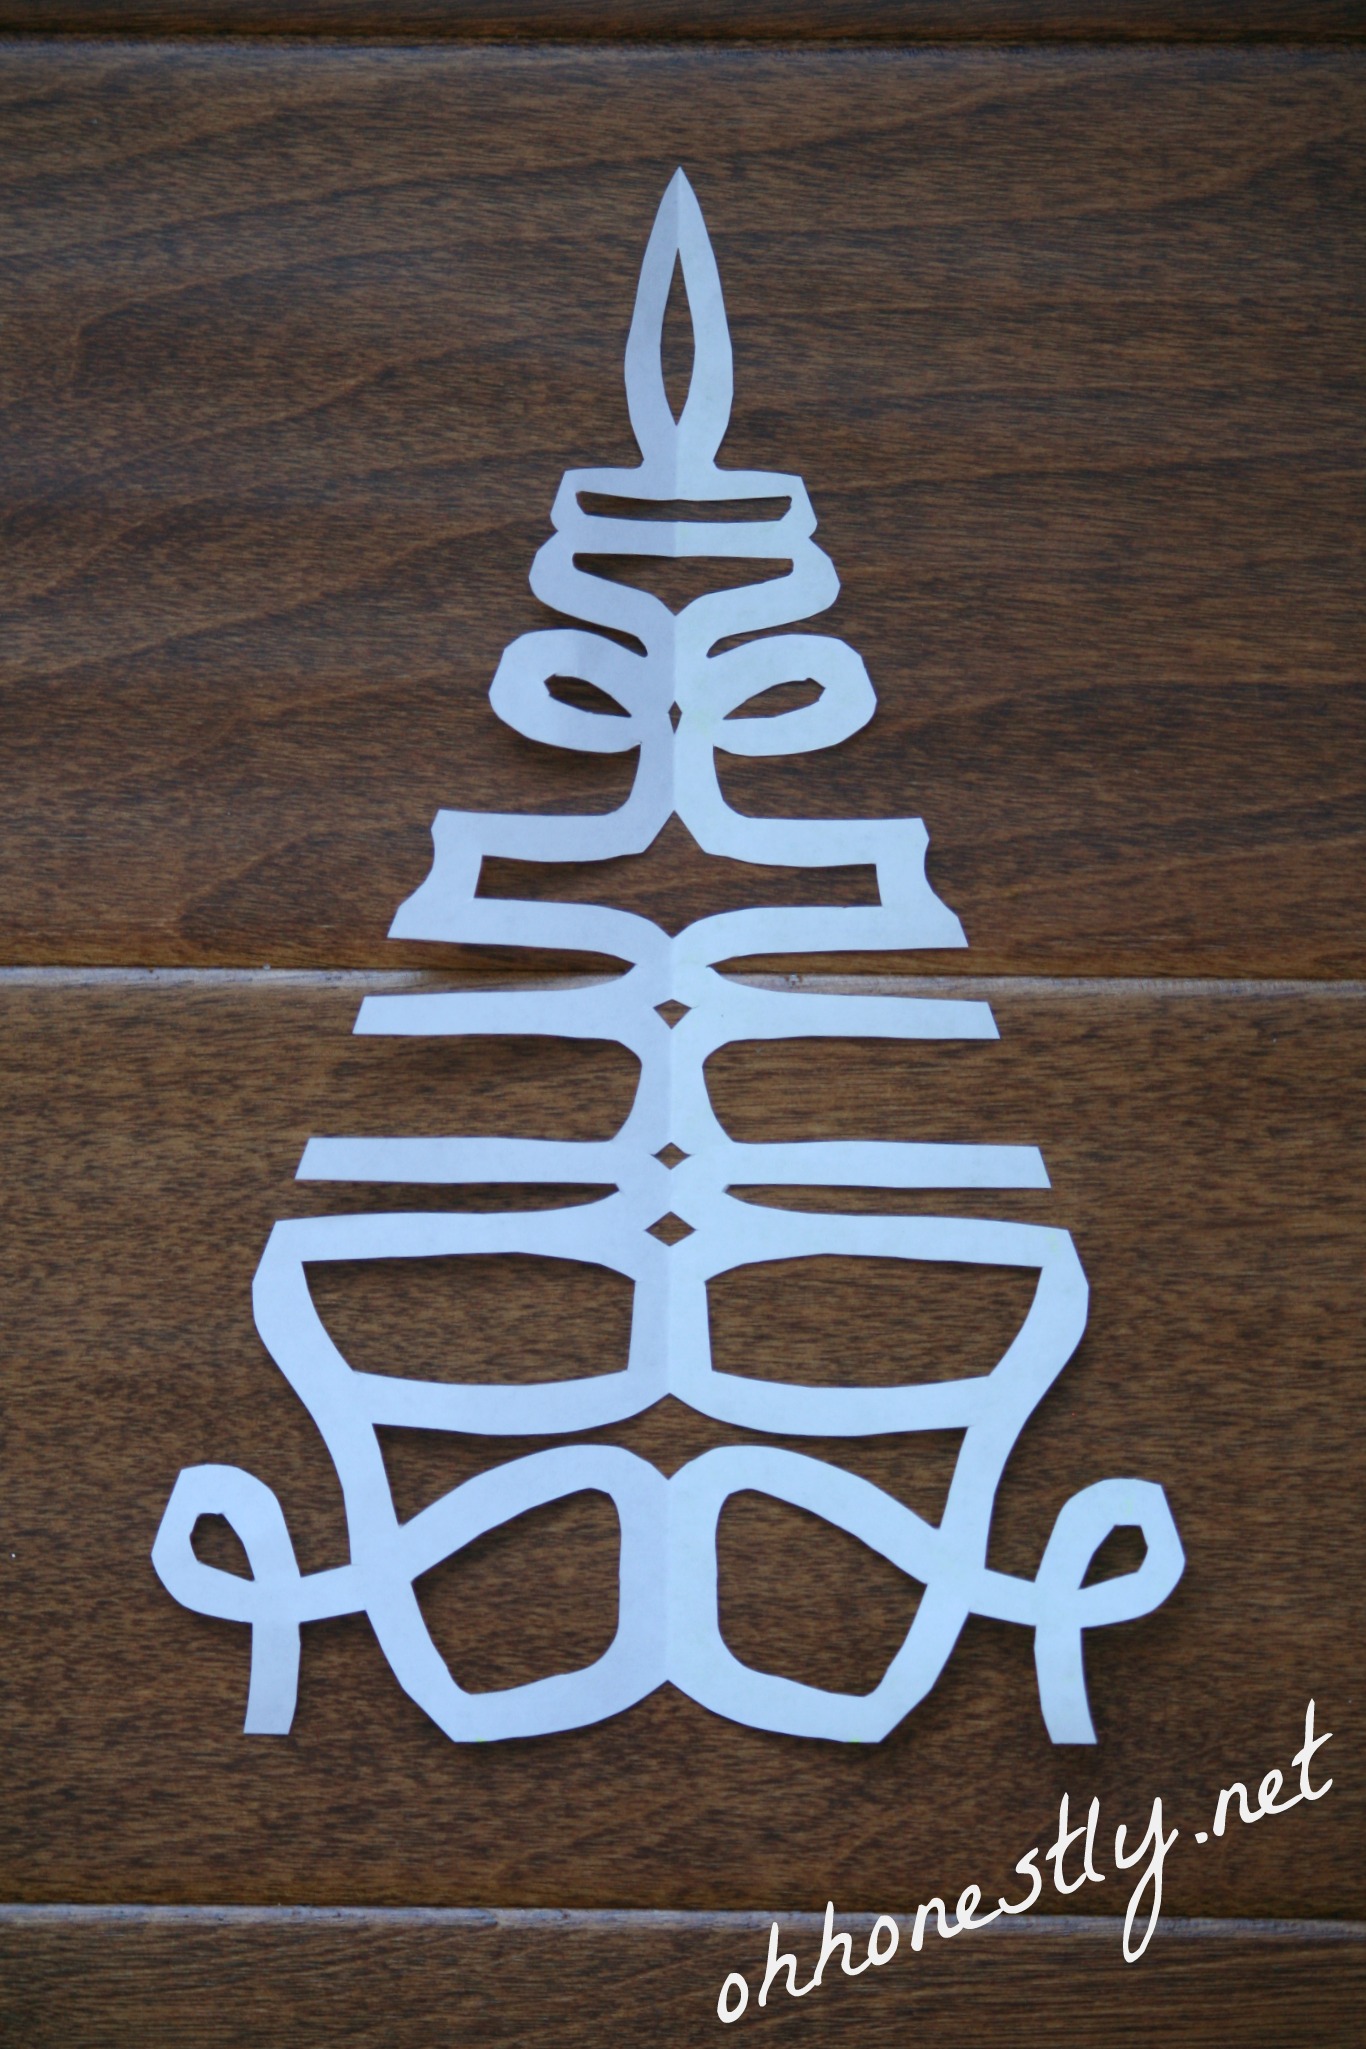
6. Cut along the straight line you drew in Step 3.
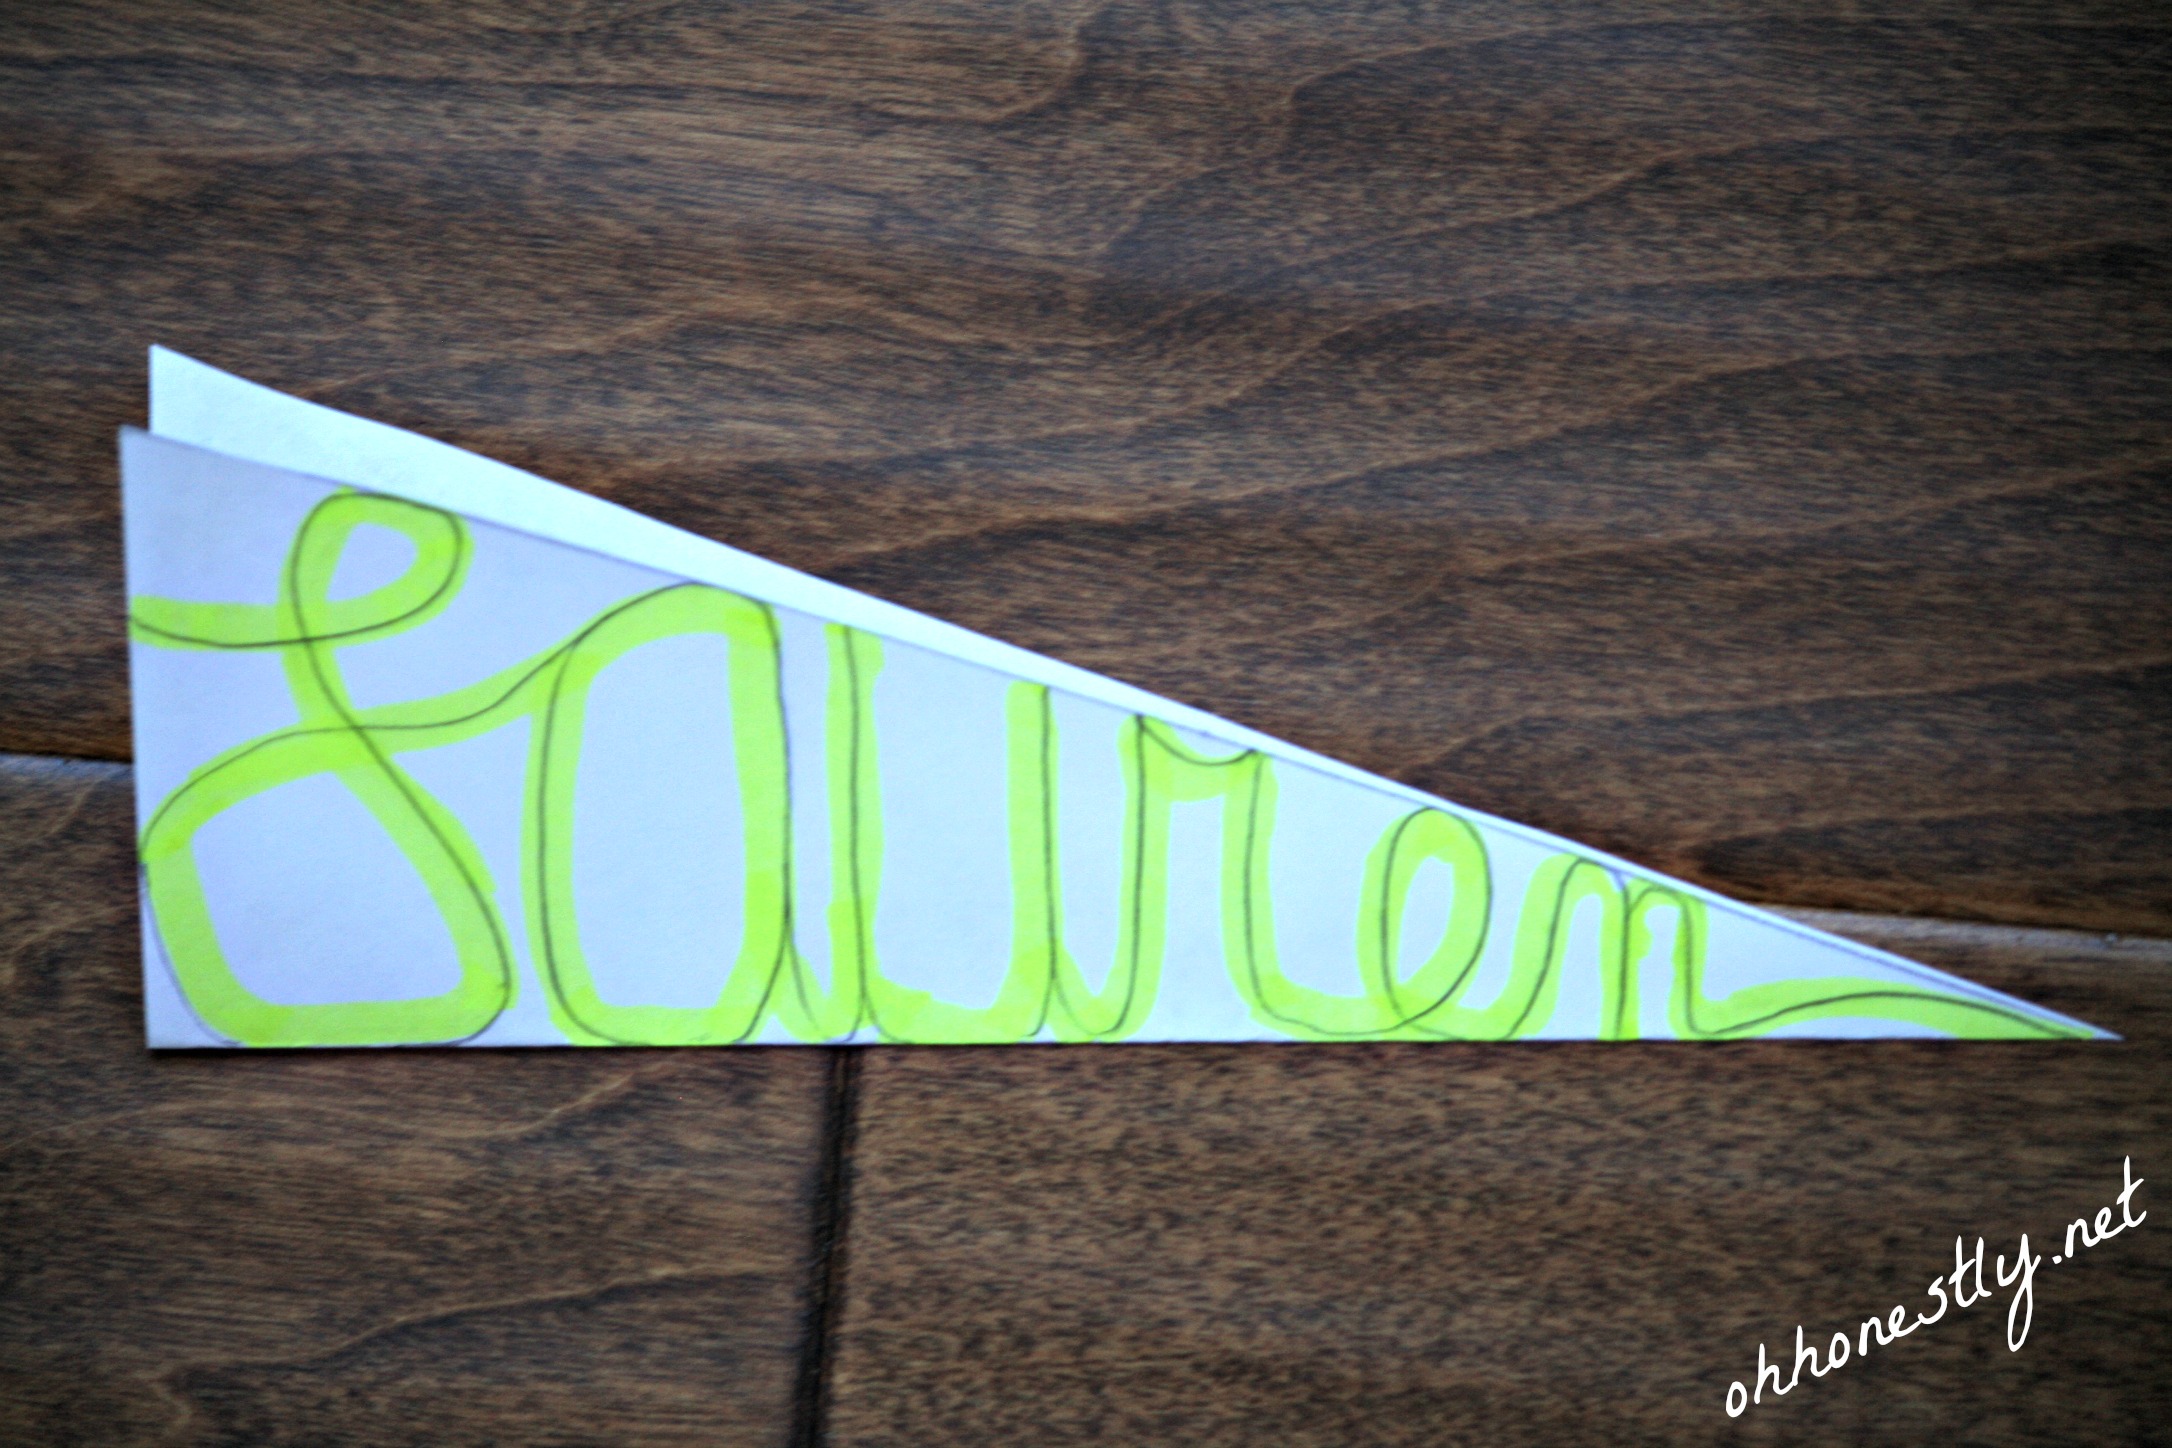
7. Cut along the inside and outside edges of the highlighter.
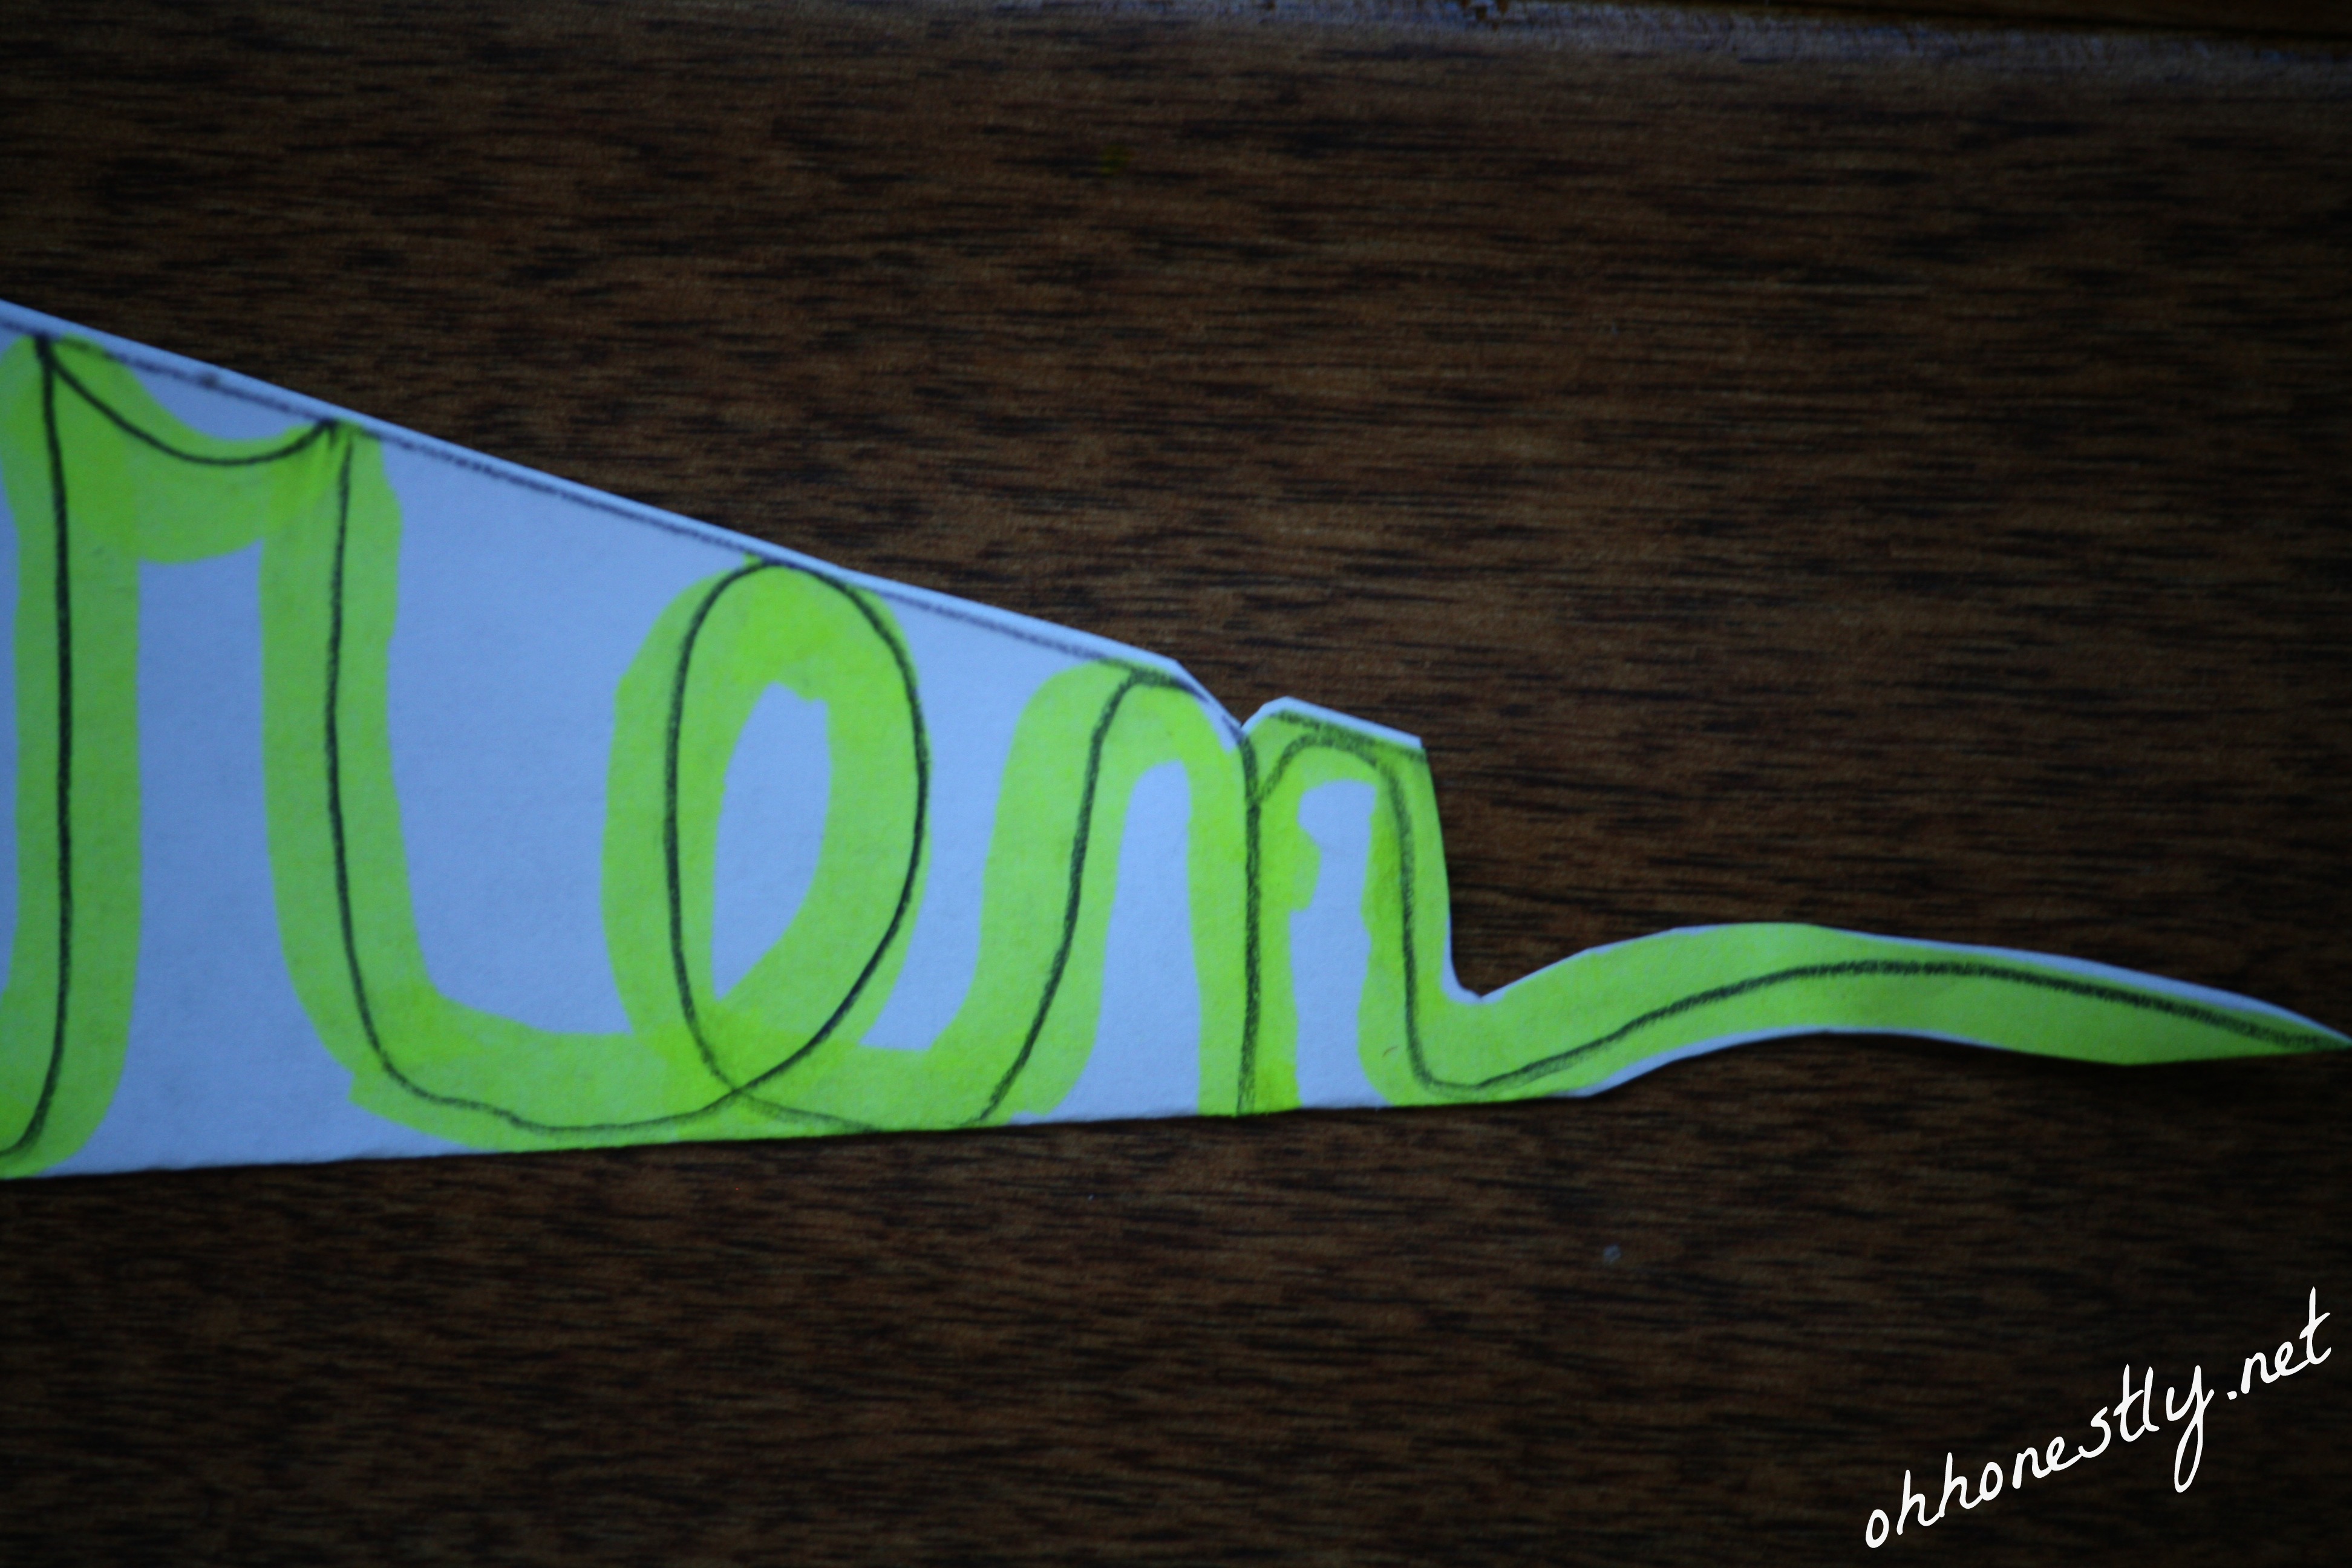
When you’re done cutting, it will look like this:
8. Unfold the paper and there you have it!
9. Mount on a contrasting color of card stock and frame if you so desire.
Sorry to not show you the one I did mounted and framed; I didn’t have a glue stick. One tip: If you use a regular weight paper, be very careful when using the glue as the paper will tear fairly easily.
Echo says
This is an amazingly brilliant and sentimental DIY gift! I love it!
Lauren says
And it’s so simple too! Perfect!
Tove Stakkestad says
THIS IS GENIUS – I am going to share it far and wide… LOVE IT! Your mom is awesome!
Lauren says
Thanks so much! (And yes, she is 🙂 )
Hazel Wheeler says
While this is truly an awesome idea– if you have a kid with a ‘hanging down’ letter in their name you’re stuck. I tried twice for my son, whose name has a q in the middle of it, and had no real luck in producing something that looked like his name. So, any kid who has a g,j,p,q or y as something beyond the first letter of the name… good luck.
Lauren says
It’s harder and ends up looking a little different, but it is possible! I made several last year for friends who had ‘hanging down’ letters. You have to make the top part about half the size you normally would and then use bottom half of the space for the drop down part. If you check out this post on my facebook page, there are some picture examples in the comments section. https://www.facebook.com/ohhonestly/posts/371961722960473
Hazel Wheeler says
Thanks Lauren– I’ll try your suggestion! Loved the little Facebook demo!
Tricia the Good Mama says
What a clever idea and it looks easy enough for me to actually do! Pinning this. Can’t wait to try it!
Sahana says
Wow !! I really like this idea 🙂 Such a great DIY. Thank you for linking up at Bloggers Brag weekly pinterest party. I have pinned to Bloggers brags pinterest board.We would love to see you again next monday.
Lauren says
Thanks Sahana!
Lauren says
What size are the openings on the frame you used?
Lauren says
There are three 5×7 openings in the one my mom made with all the kids’ names. You can make a bigger one though; just use a larger piece of paper and measure your diagonal line to make sure it will fit before you cut it out.
Nicole H says
Thank you so very much! I tried my hand at this today. Although I need another practice round, it turned out way better than I thought it would 🙂 I think I may make one for myself and one for my mother in law! She’ll love this 🙂 Thanks again!
Lauren says
I’m so glad it worked and you like them! Your mother-in-law will love it too!
Jennifer | The Deliberate Mom says
These are beautiful and I totally have to do this!
I love it so much. Is the cutting super challenging? I need to brush up on my penmenship LOL
Thanks so much for sharing (and for linking up to the Christmas Blog Hop!
Wishing you a very Merry Christmas!
xoxo
Lauren says
You definitely want a sharp pair of scissors, but it’s not too difficult. Good luck and Merry Christmas!